Thursday, 28 February 2013

Focusing on the smaller things...

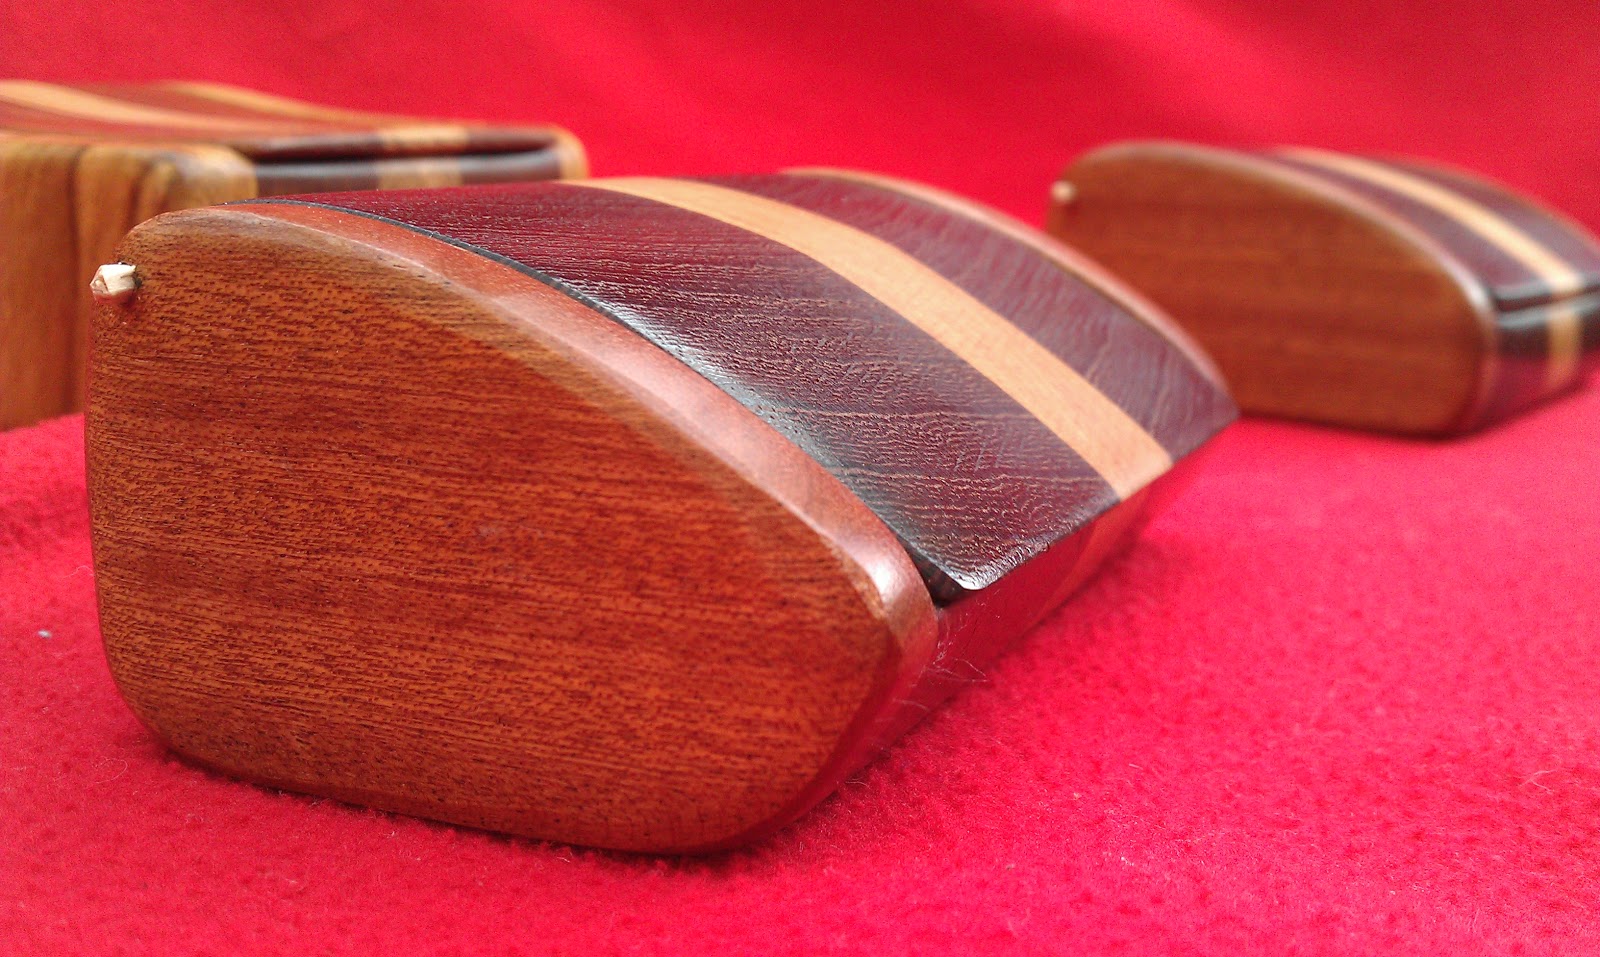
The last week has seen me working hard on the smaller parts of some boxes. It's fiddly work but it is where the boxes really begin to take shape. From bandsaw to clamps and glue and back to the bandsaw, all shapes and sizes of drawers and boxes have begun to form on my workbench.


 When I make a large run of boxes at the same time I always find it vital to mark everything up carefully so that when I assemble all the pieces they all go back together the way I wanted them to. Even now, I still make mistakes, no matter how carefully I try to keep track of everything. Just yesterday I put a newly glued drawer back into its box, only to find I'd cut it back to front. Now I have a box facing one way with a drawer facing the other. Still, not to worry. I'll just have to find a nice, complementary piece of wood and make a new box and drawer to match. In my world of box making mistakes aren't problems, they're just 'features' waiting to happen :o)

Not one to waste anything, these offcuts will be picked over and anything interesting will be squirrelled away ready to be used for smaller projects. Some larger drawer inners will become hinged ring boxes, while the really small pieces may resurface as drawer handles.
Another week and all the glueing and clamping should be finished, including all the secret drawers. Then comes the dusty business of shaping them. I'm thinking of getting a bobbin sander to make the job easier. It might just be time to spend that birthday money...

Monday, 18 February 2013

Approaching base camp

Working on a set of boxes can bring both joy and frustration in equal measure. A few are strong and easy to work with, and the blade slips through, while others can be quite stubborn in the early stages, not quite prepared to give up their old form. I know we'll all get to the finish together, it's just that some boxes will need more help than others.
Anyone who has made a box using a bandsaw will know the importance of a dead flat back. You need this for when you are cutting out the drawer, or else it will not come out horizontally and might stick or, worse, occasionally fall open. You need it again when you come to attach the back, you'll want the join to be seamless and gap-free. Now I'm having trouble with an olive ash box. Try as I might I just can't get the back flat. I've passed it over the planer, sanded it on the disc-sander, trimmed it on the band-saw and even hand-planed it, but still it has a small crown in it that makes the back rock. I'm on the verge of rebating the back just to get it to fit. Still, one thing I've learned over the years is that, when a seemingly simple woodworking task is giving me a hard time then the best thing to do is leave it alone and do something else. I never ignore it completely, but I've made enough mistakes by hammering away at a problem, only to regret the lost shavings it once I've showered and packed up for the evening.
So, today the Olive Ash box has been put to one side. In its place I have a Chestnut box with two drawers. I think I'll be calling it 'Infinity' once it's finished. The wood is strong and true, so the cutting is much easier than the Olive Ash.
I recently took a break to head over to Barcelona for a birthday treat. The modernista's work was right up my street, all organic and flowing, and I'm sure it will be influencing my designs over the coming months. I have a few other things to be getting on with in the next few weeks so my box making may go slowly for a while. Even so, I'm still well on course for the opening of my online store. 50 days and counting...

Tuesday, 12 February 2013

The journey begins for more curved boxes

For me, woodworking is a total delight. I could spend all day in the workshop and barely notice the hours shuffling by. The only thing that worries me, as my boxes become more popular, is whether I'll have to end up like Henry Ford, with a production line driving through the workshop, vanquishing all the joy along the way. I'm fairly confident that won't happen, but to help me guard against it I only make a few of each type of box at a time, then switch and focus on another style. I like to think it keeps my work fresh.
Over the weekend I finished milling and sanding some lengths for the inner trays of my Companion boxes (there's a couple of rejects still on the messy workbench up top). They are all ready to dovetail, but I knew that if I carried on and finished the trays I'd have no time left this week to make anything else (I've got a birthday trip to Barcelona later in the week, then it's back to the day job). So, with that in mind, I set about tidying up and launching into some new curved boxes.
Over Christmas I hoarded twenty or so large blanks, all native woods like Oak, Chestnut and the increasingly endangered Ash. Today was the day to get them out and see what they wanted to be. I left some in storage, to make into lidded boxes later on in the Spring, and brought the rest out into the nicely tidied workshop.
The first job was to cut them into box sized pieces. With these boxes in particular, there is no right way to size them, although I have found out once or twice that there is definitely a wrong way! Usually, I look at the direction of the grain and go with it, unless it is something like Wenge, with its tightly packed, highly contrasting grain, and then I might cut across, although if I do then I have to make sure the finished box has walls thick enough to retain their integrity. Anyway, no Wenge here today so it is right along the grain all the way.
Next comes the arty part. With five sharp pencils, a rubber and an electric heater as close to my toes as I dare let it get, I set about sketching the finished box shape onto the blanks. Again there is no right way to do this. Some people do this part on a piece of paper (no doubt thankful to be indoors where there is central heating) then glue their finished sketch onto the wood blank. However, I prefer to draw directly onto the wood. It means I can take notice of any interesting figure flowing through the wood and try to find a shape which both complements it and also provides sufficient drawer space.
Fitzgerald, Winehouse, Adele, the Killers, plus a stop for lunch, and another for a trawl around the local charity shops, and all the blanks are marked up. One or two need an extra piece glued in the centre to make sufficient depth, and my wife wants the soles of her winter boots glued on, so its time to tick those jobs off and lock up for the night. If all is well then tomorrow I should get a few drawers cut out...

Sunday, 10 February 2013

Making the move online


 I've been making boxes for some time now, trundling out to the workshop after the day job is done and washing away the stresses of the day with a balm of sawdust and Danish Oil. It has been a good year for sales. I've been too busy to think of marketing my work properly, but even so I've been delighted to see just how many boxes have found a new home.


 So, this year I've decided to make the move online. I'm going to set up an Etsy store. I don't have all the stock ready yet, although I do have all the raw materials in place. I just need the time to convert them from solid chunks of wood into boxes.


I've set up a facebook page (https://www.facebook.com/patrickleonardboxes) and I have a deadline for opening the online store: 8th April 2013. So now all I need to do is get down to work... in between going to 'actual' work, that is.
If you would like to follow my journey, from Yorkshire workshop to online store, then you've come to the right place. And once you've seen how a box comes to life you might like to suggest or request a variation of your own. I'm always happy to hear new ideas from people who really enjoy the flowing figure of an unusual piece of wood...